Wing Walking Photography – what actually works
This is not a camera manual. It is a practical visual guide for real days at the airfield: short tips, strong photos and advice that works when the subject is standing in an 80 mph wind.
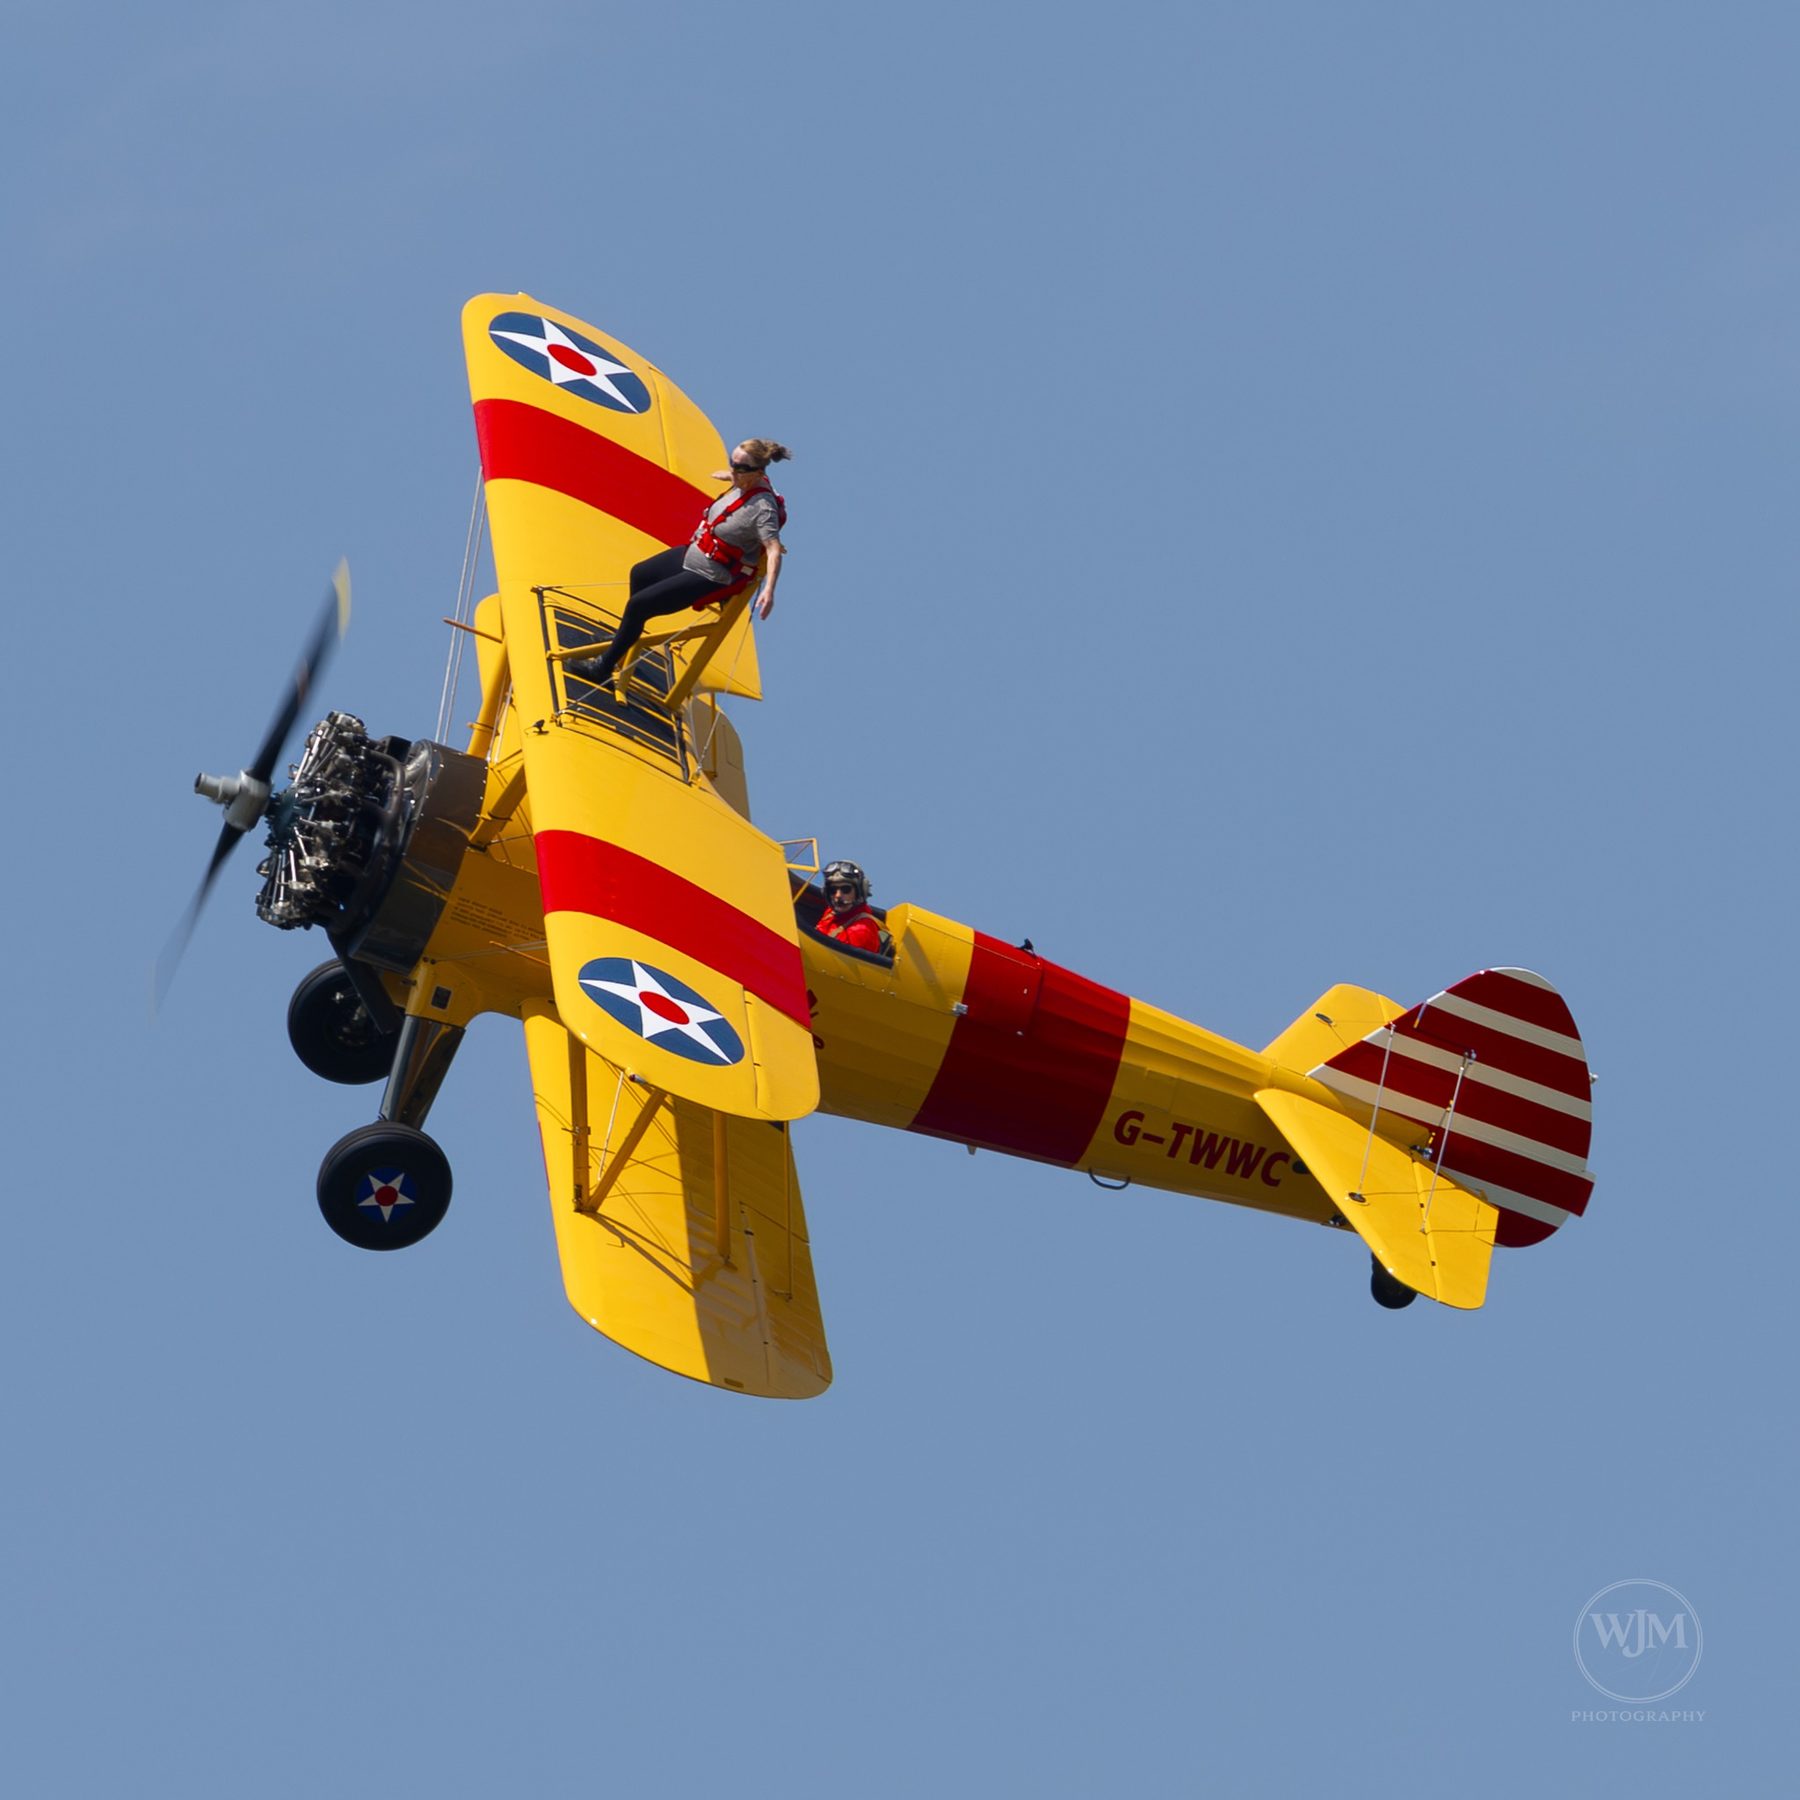
Watch the sun
The light changes all day. Move if you can. Front or side light usually gives better faces, better colour and cleaner backgrounds.
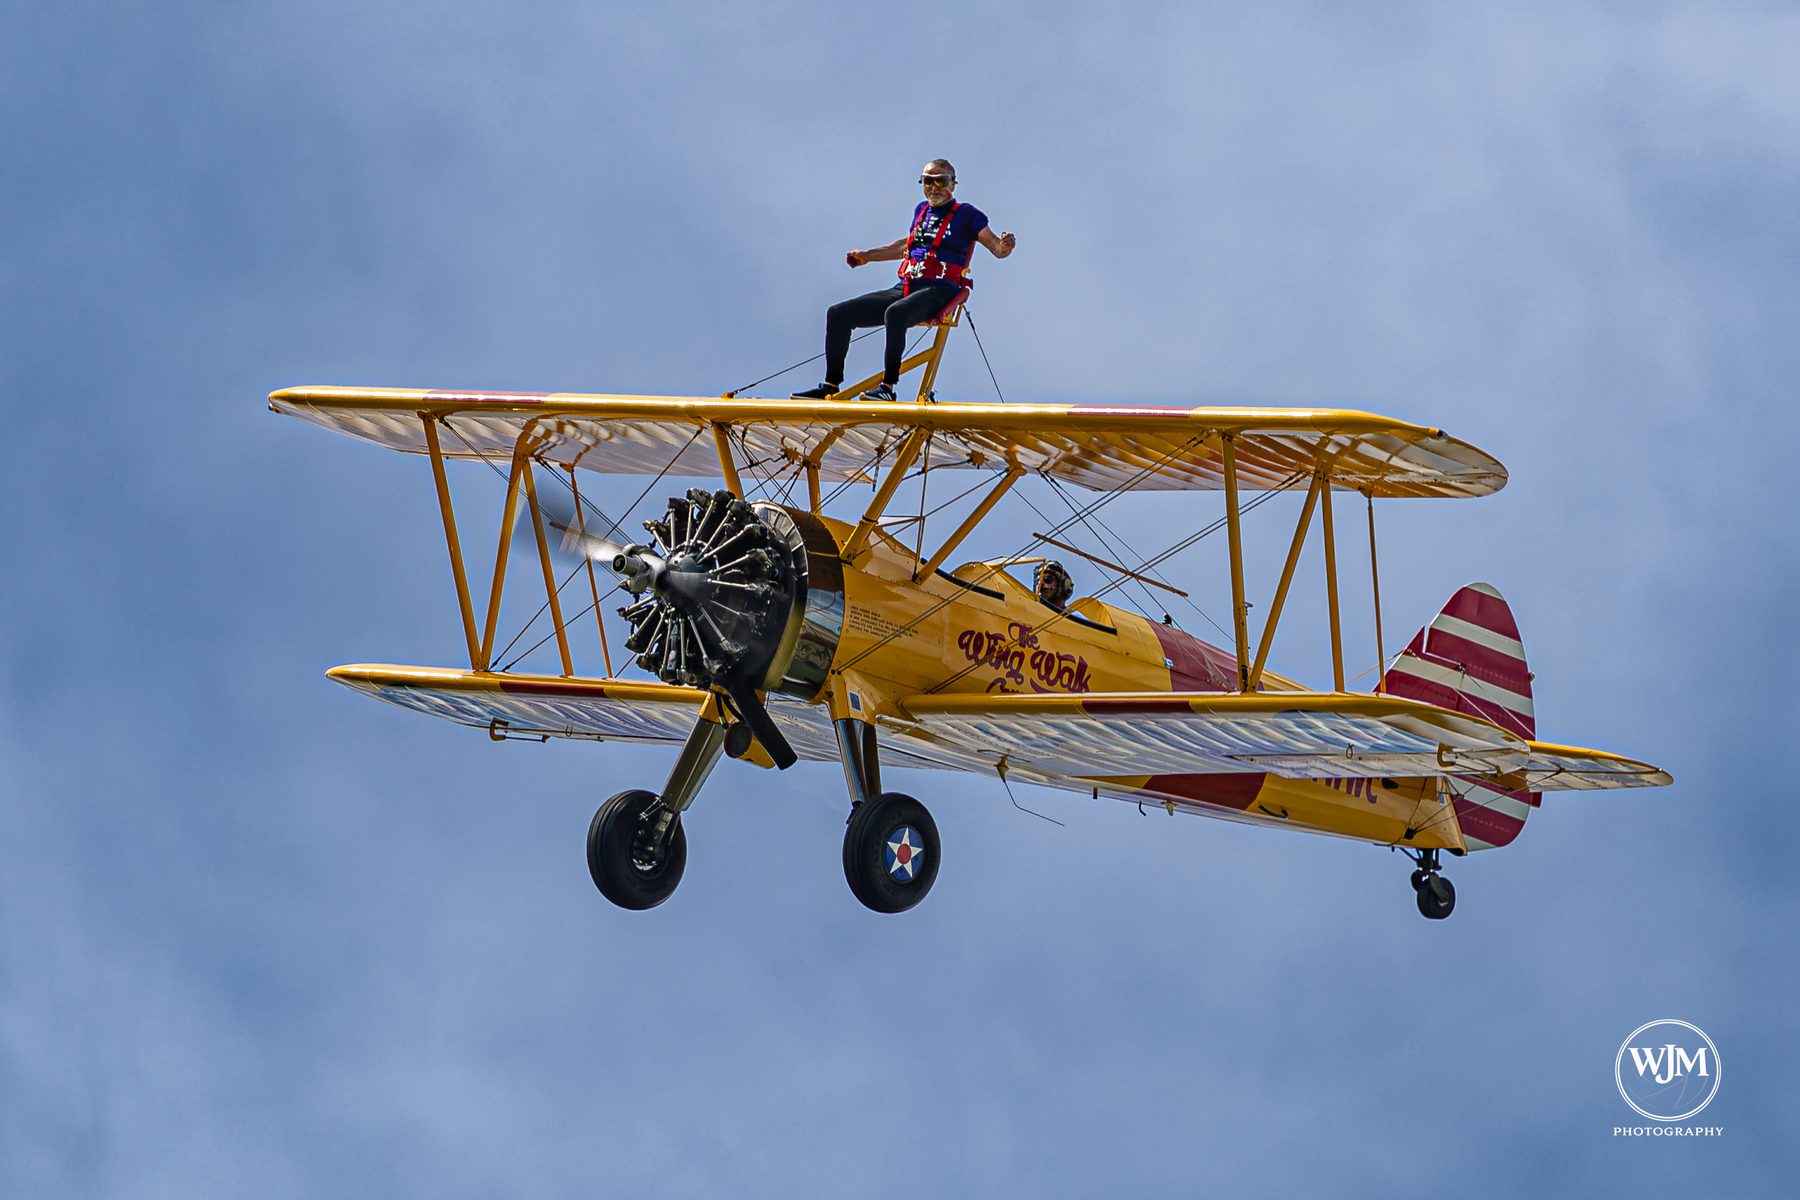
Catch take-off
Be ready before the aircraft starts rolling. The first few seconds after lift-off often produce dramatic images.
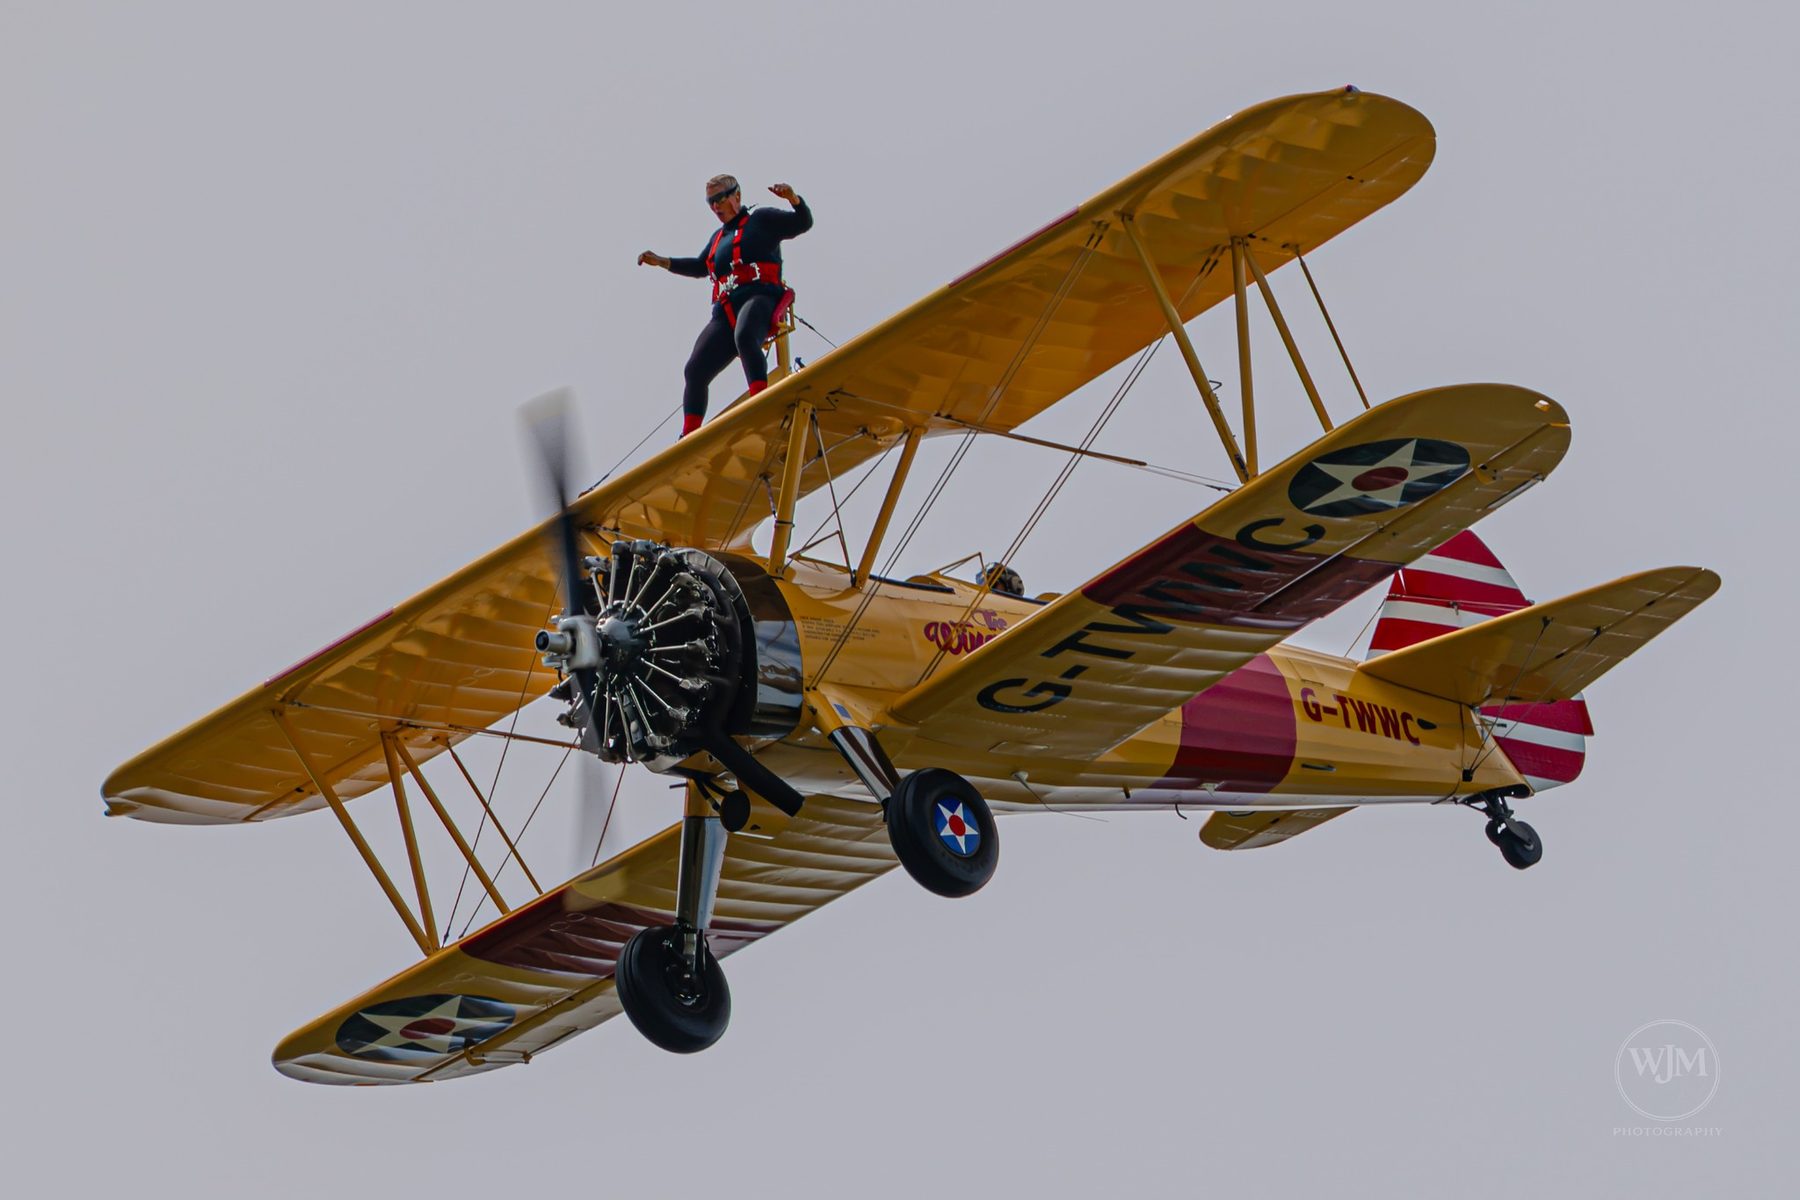
Hold the pose
For the wing walker: big shapes work. Superman, star, arms wide, salute, thumbs up. Hold each pose for a second or two.
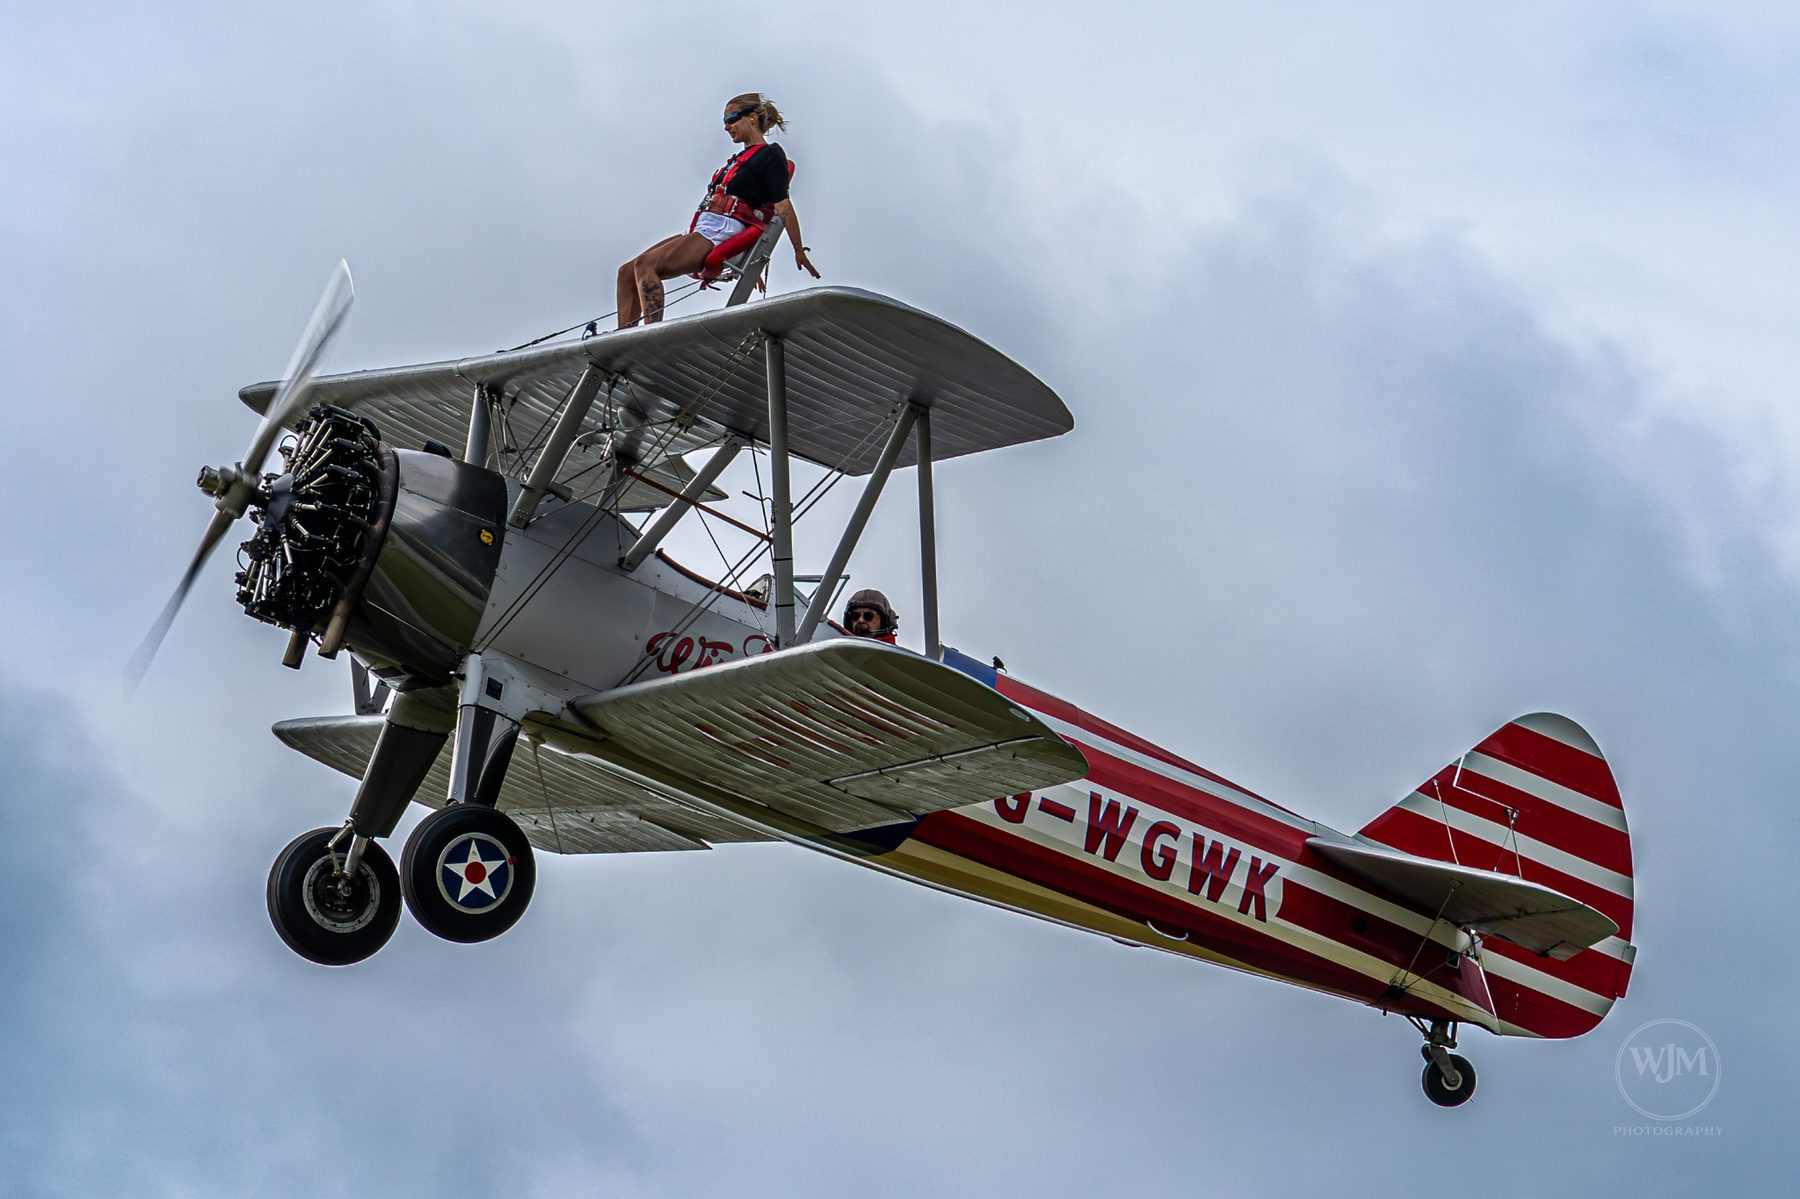
Sharp beats clever
For photographers: 1/80s can make a lovely prop disc, but it can also blur the person strapped on top. Around 1/640s is a sensible real-world starting point.
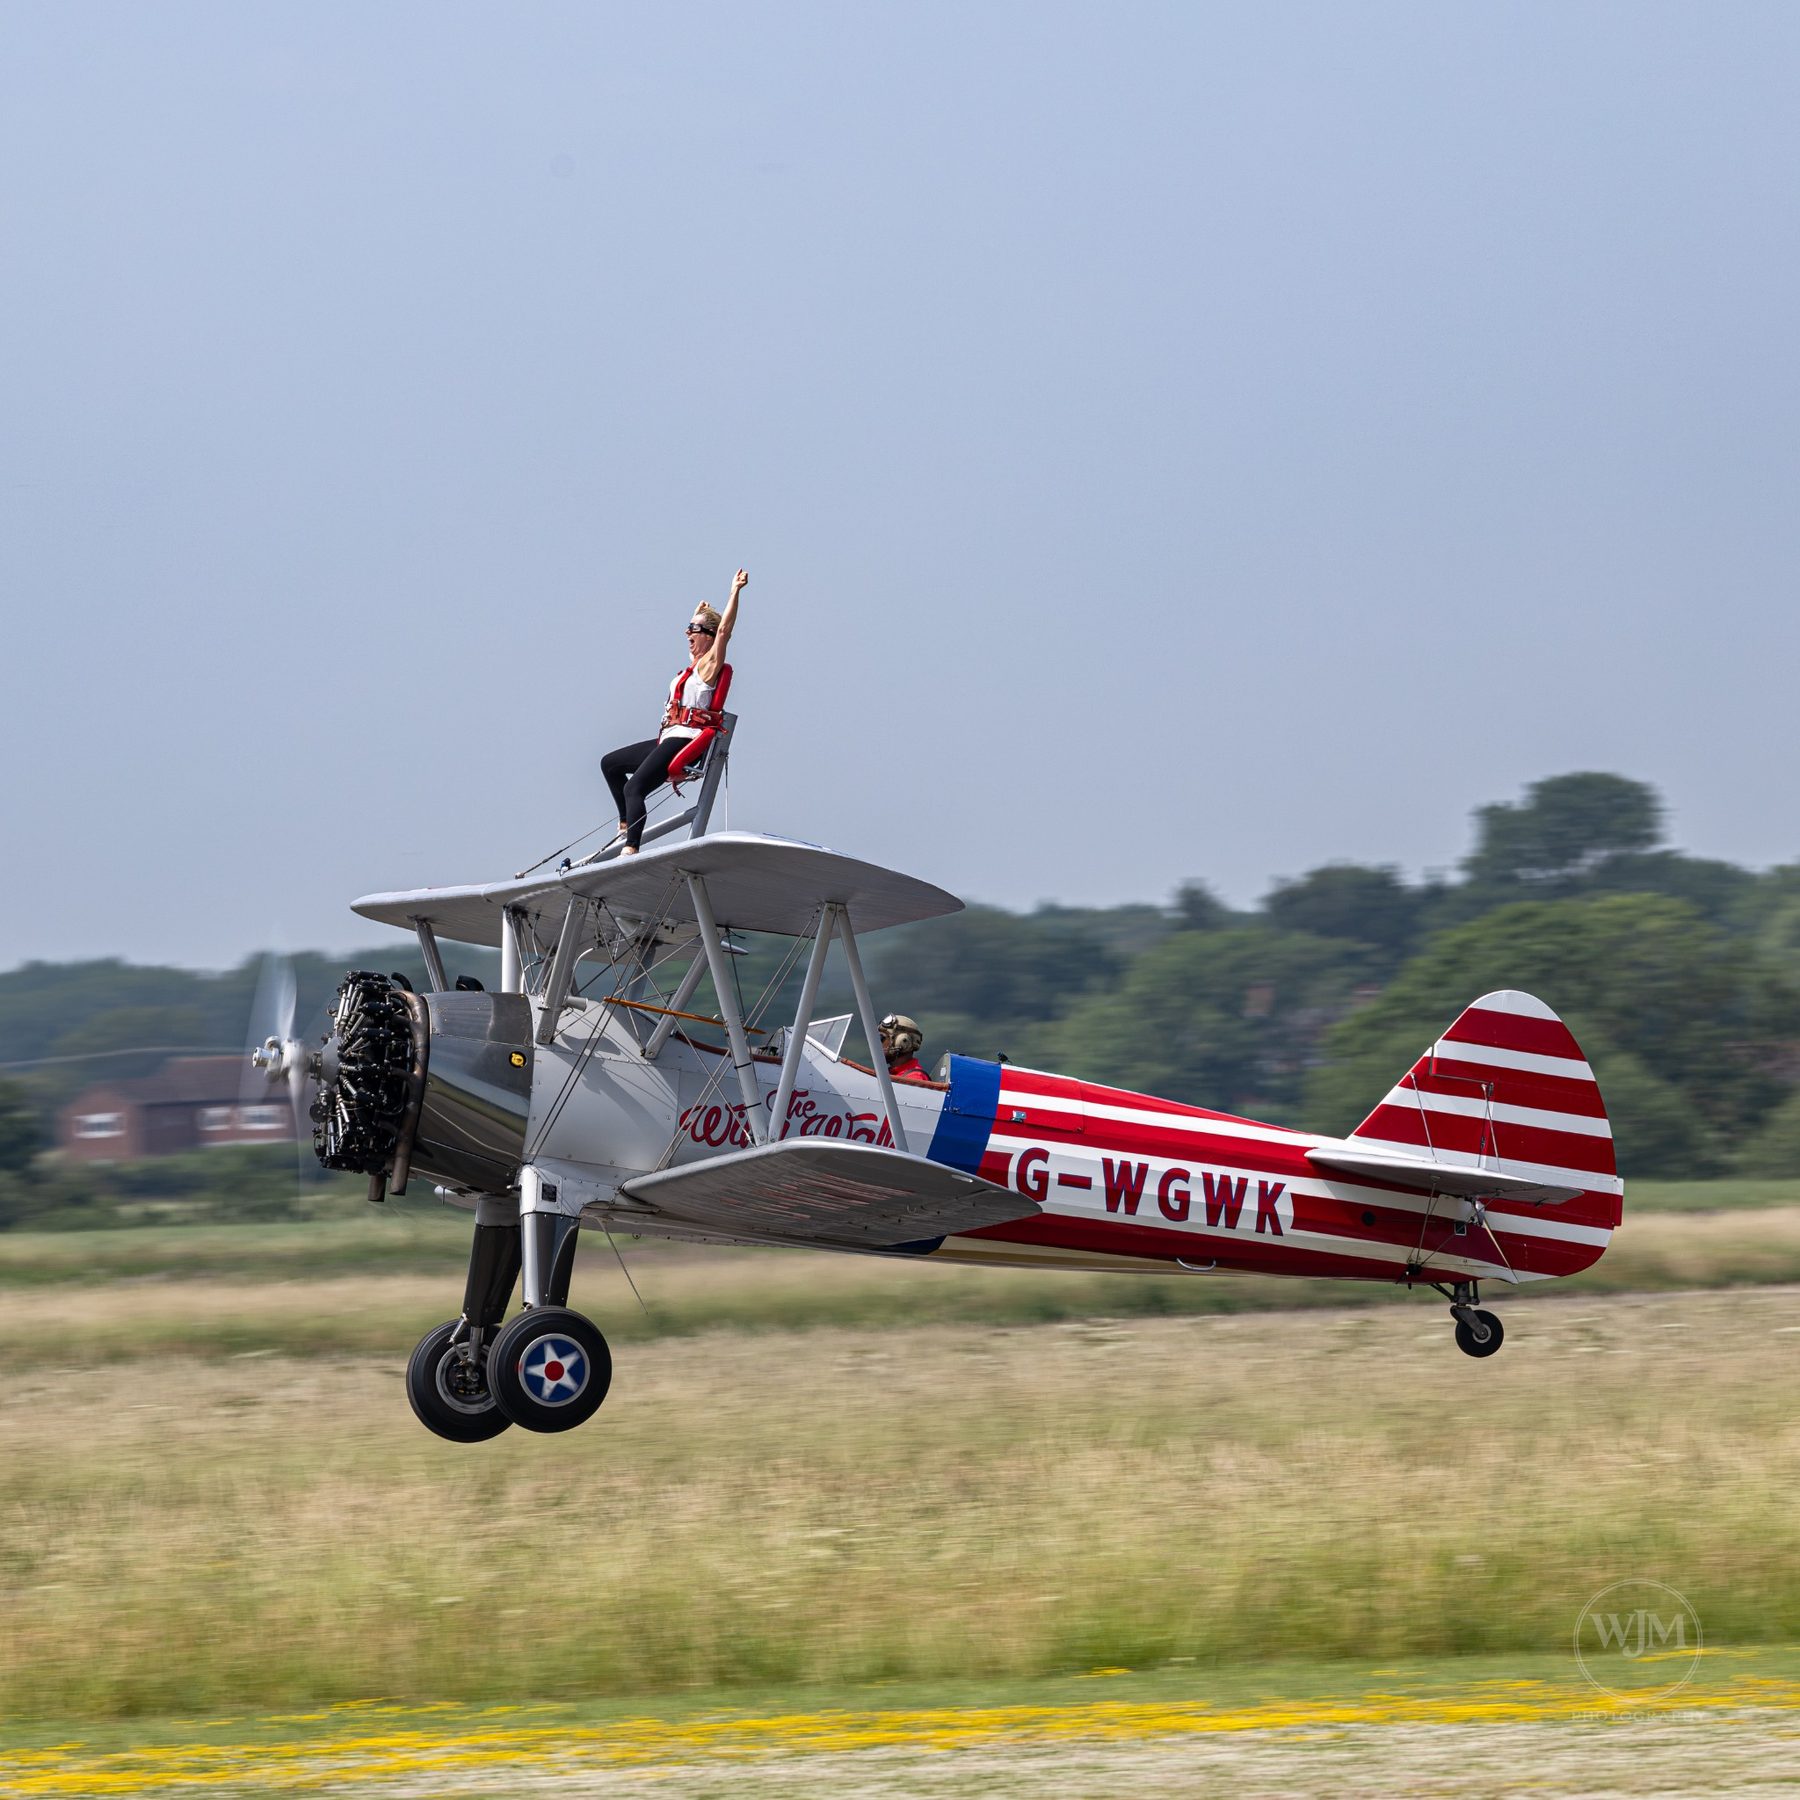
Landing is gold
Do not stop at touchdown. Landing and taxi back often give the biggest smiles, best waves and most relaxed photos.
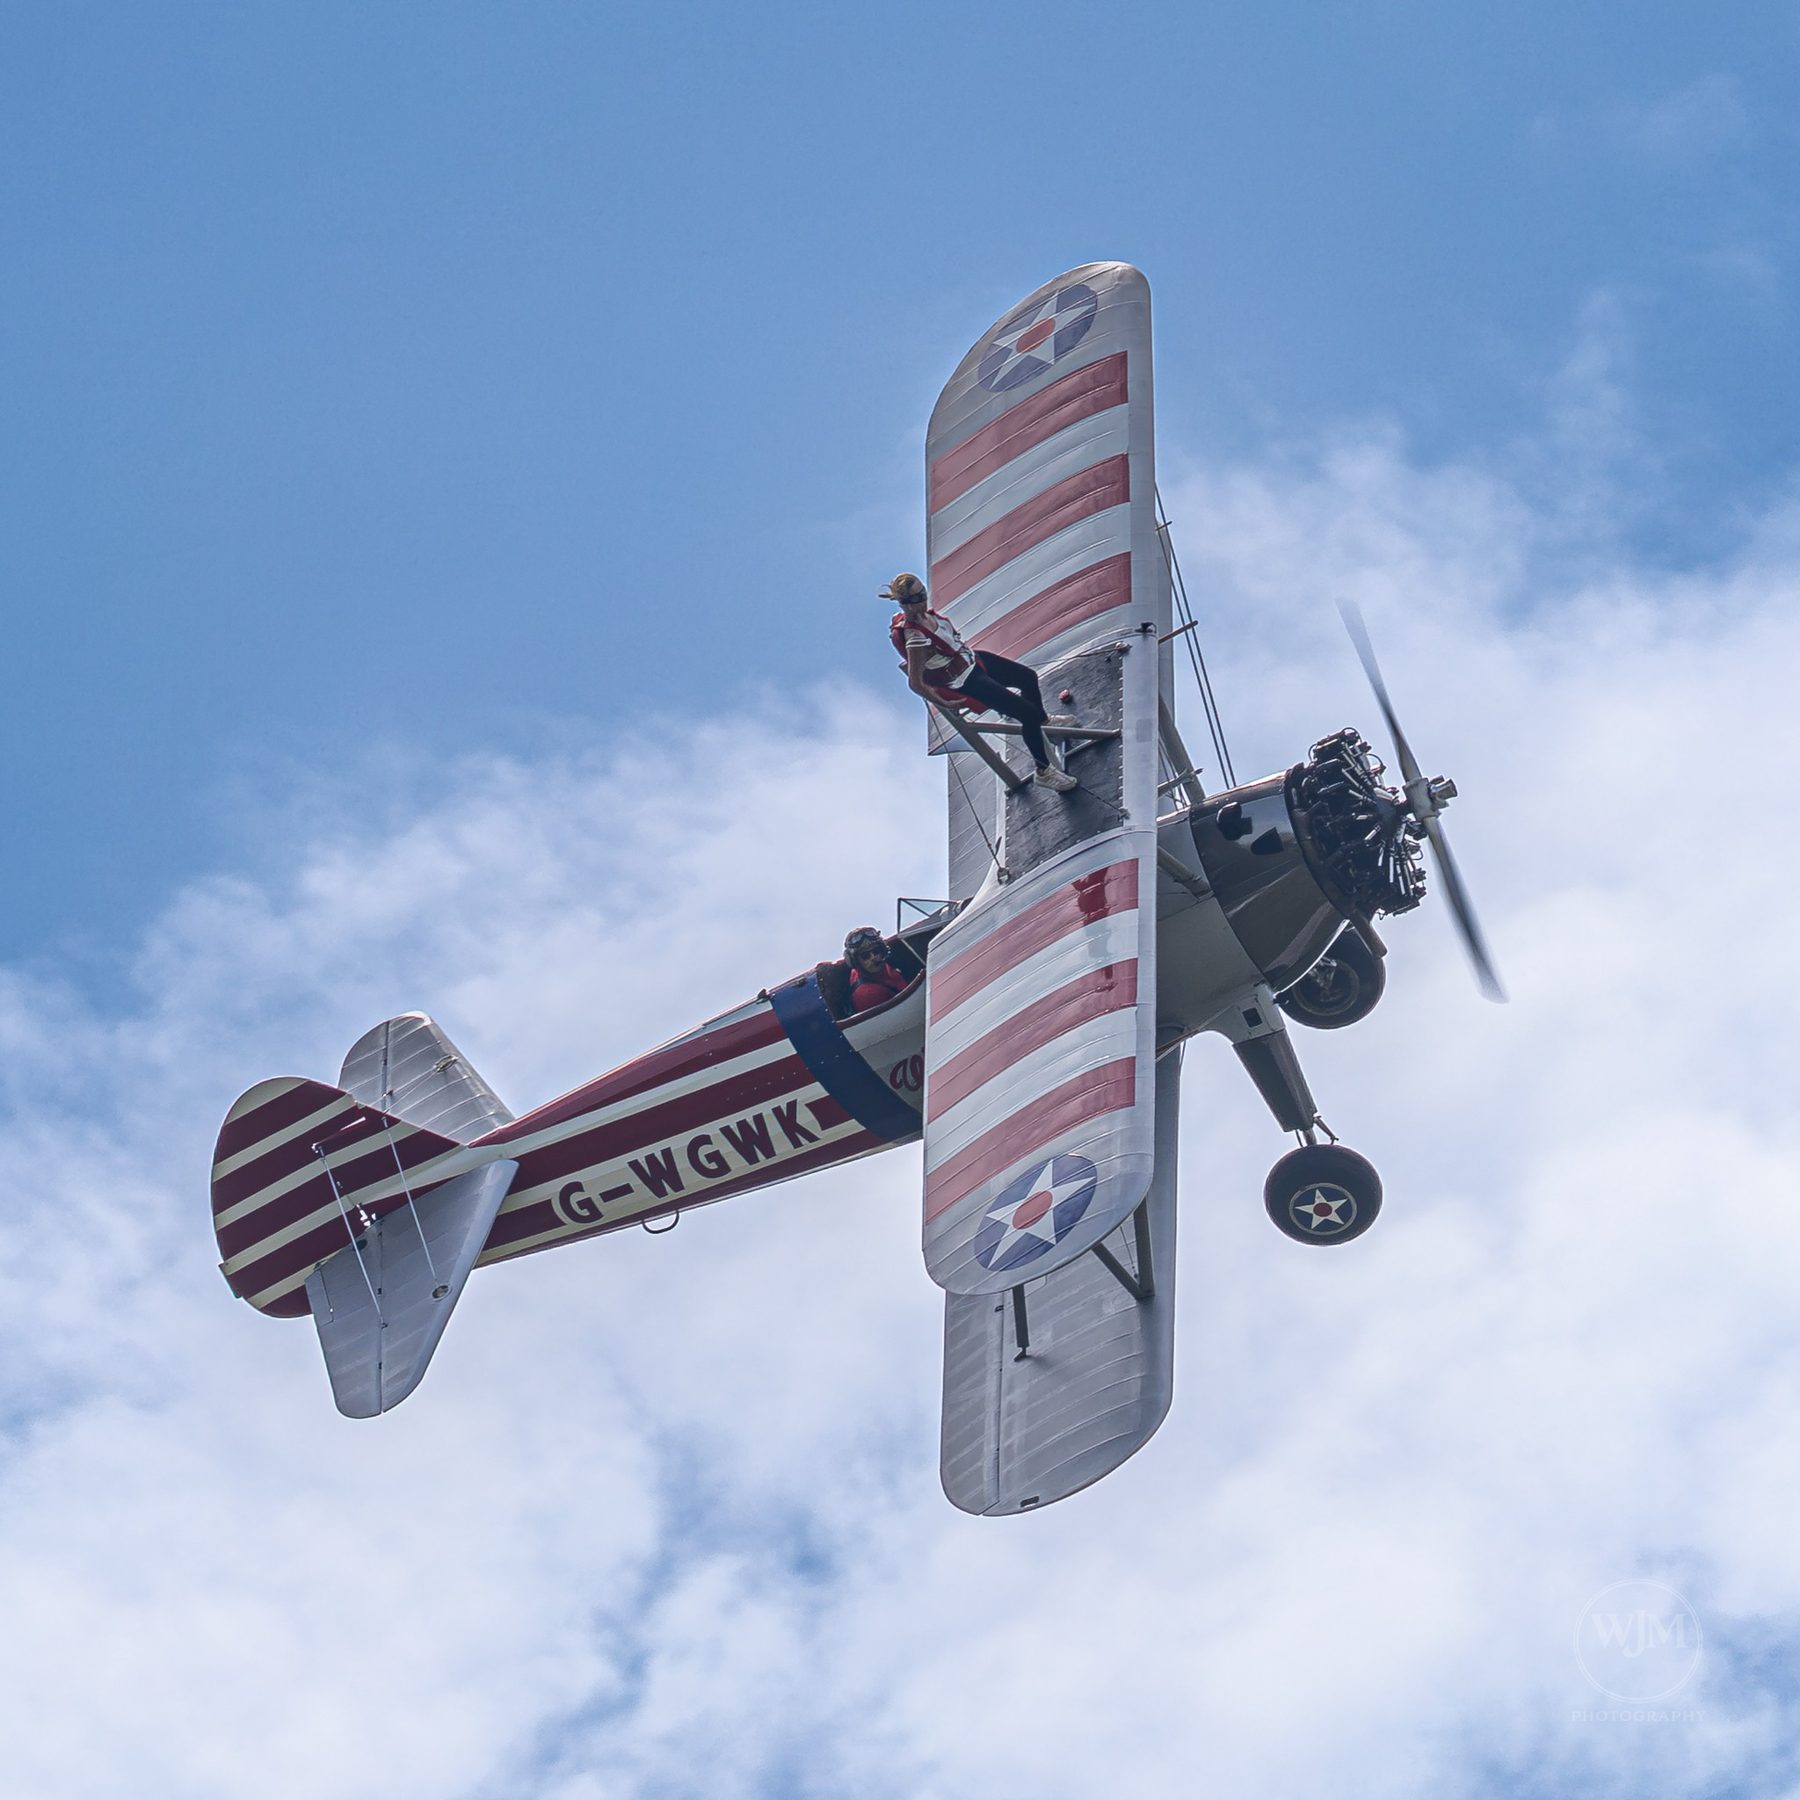
Use enough lens, not too much
Full frame: a 100-400mm is plenty. Crop body: 70-300mm or 100-300mm is often enough. Bigger is not always better.
For the wing walker
Hold poses. Smile towards the crowd. Use big shapes. Keep waving after landing until the aircraft stops.
For the photographer
Do not chase perfect prop blur at the expense of the person. A sharp smile beats a perfect propeller.